Get started
This walkthrough takes you from a normal Confluence page to an approved, published Greenlight state. Use it as your first successful review cycle.
Happy path
-
Create or finish your page
Write the content in Confluence as usual. Publish the Confluence page when you are ready for reviewers to be notified.
-
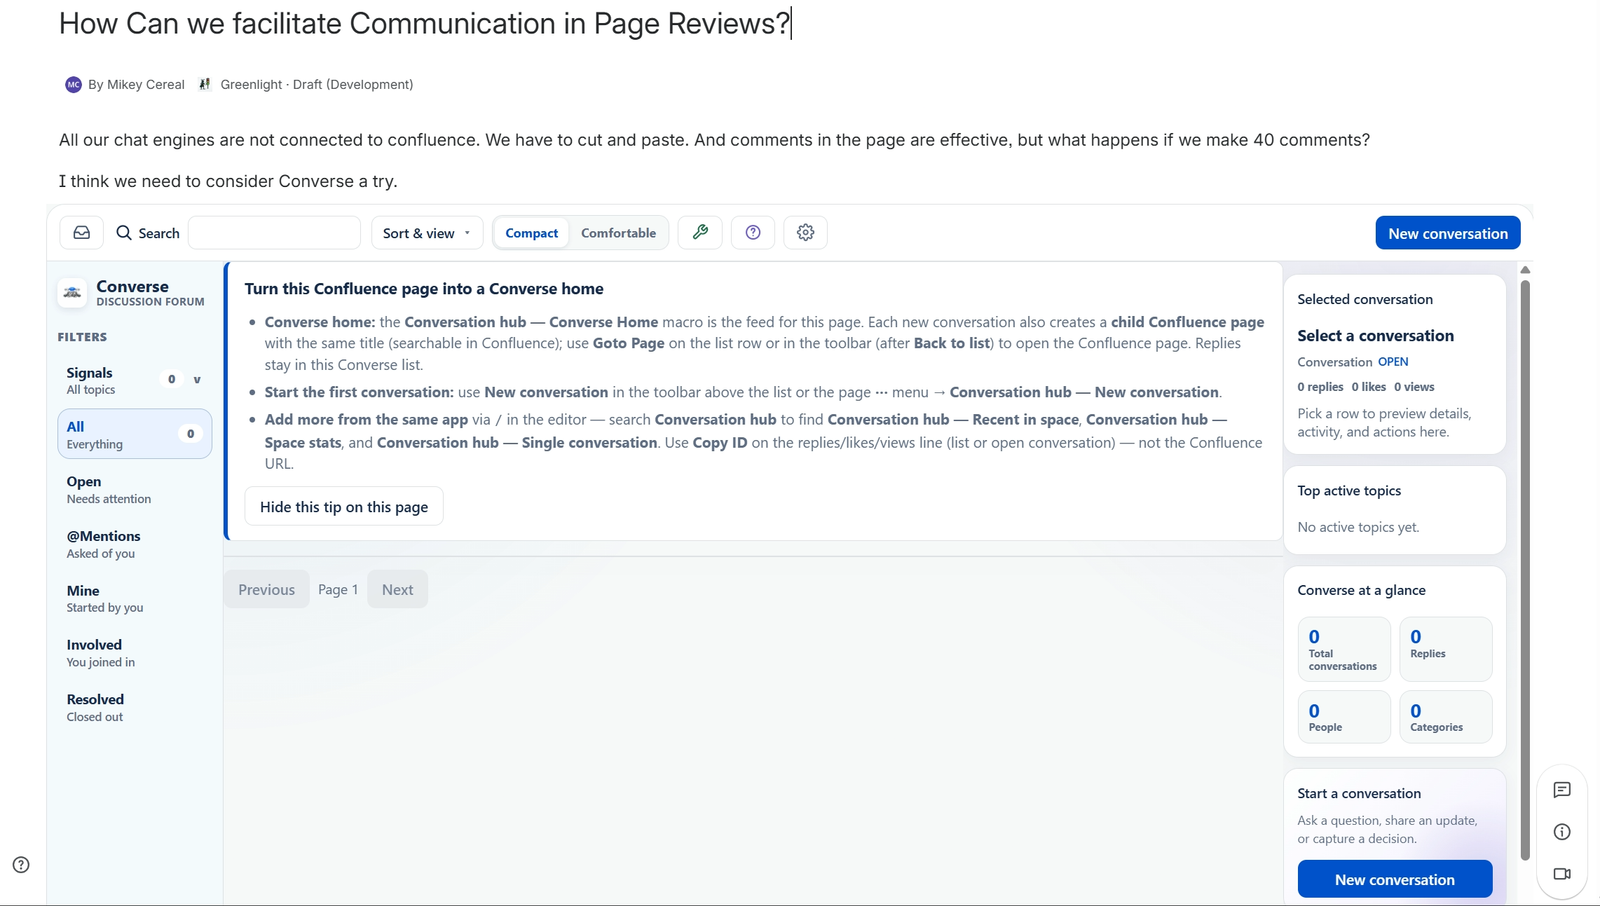
Open Greenlight from the byline
Under the page title, click Greenlight · Draft. That opens the approval panel — you do not need ⋯ → Apps.
-
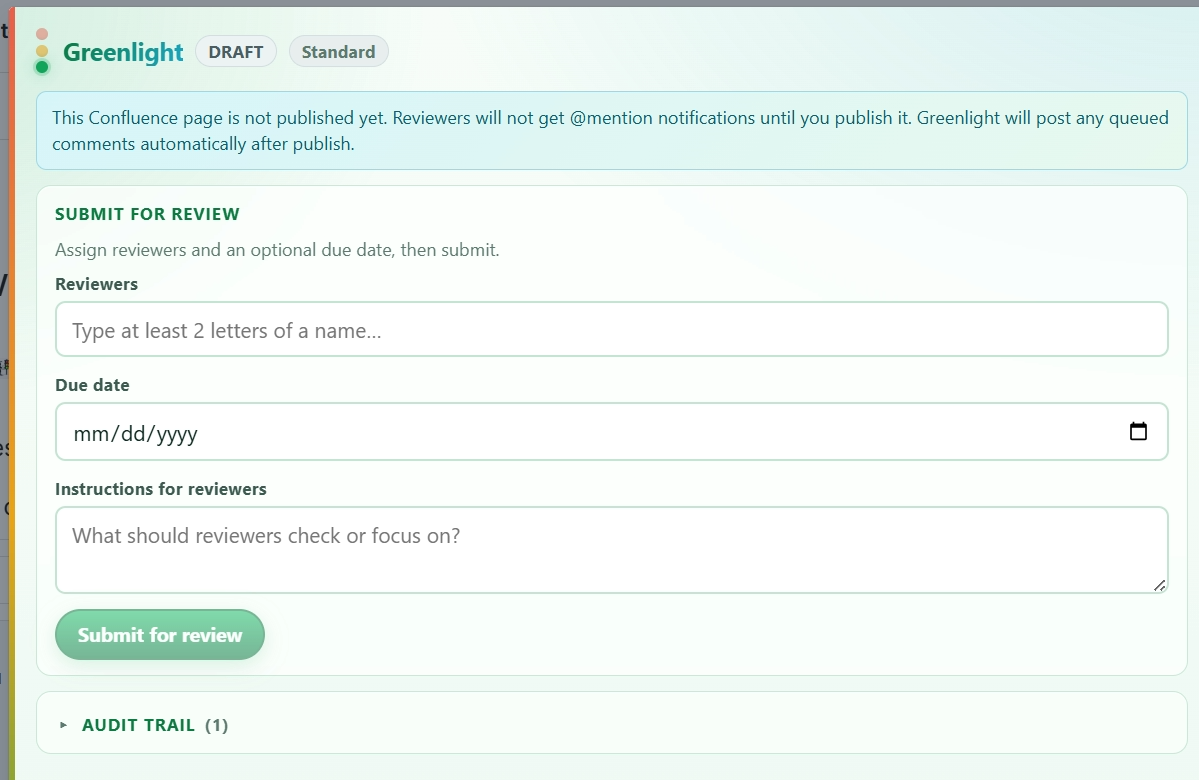
Assign reviewers and submit
Pick reviewers, optional due date, and instructions. Click Submit for review. Stage moves to In Review.
-
Reviewers get notified
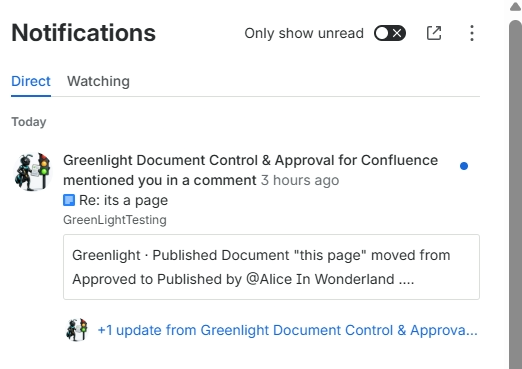
On a published Confluence page, Greenlight posts a comment with @mentions. Reviewers open the page from the notification.
-
Approve or reject
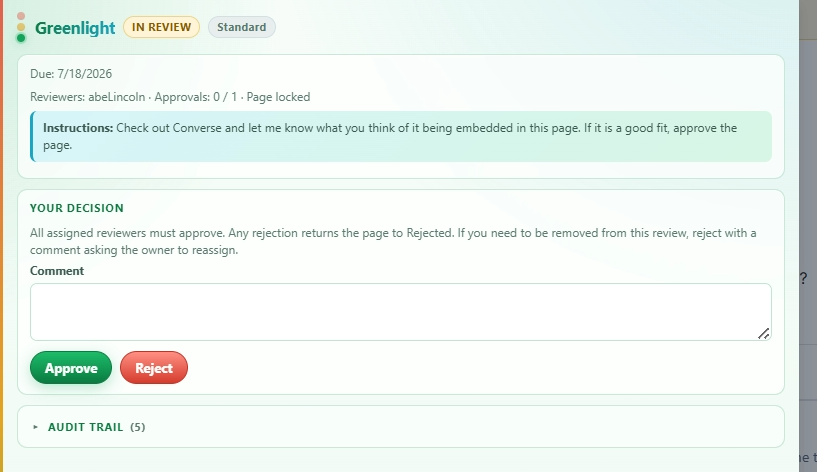
Use the page banner Open approval button or the byline. Add a comment, then Approve or Reject. All reviewers must approve; any rejection returns the page to Rejected.
-
Owner publishes in Greenlight
When everyone has approved, the owner clicks Publish in Greenlight. Restrictions clear and the badge shows Published.
States at a glance
Rejected returns the page to the author to fix and resubmit. Withdraw to Draft cancels an open review.