

Getting started
Overview
This page is the order of setup. LedgerLine treats the company as ready for daily use when every required step below is done. Until then, the first-time guide stays open and points at the next unfinished step.
You do not have to finish the optional steps before the dashboard and invoices can work. Tax, letterhead, and the first invoice can wait until the required list is complete.
Prerequisites
LedgerLine is installed on the Jira site.
A Jira site admin can open LedgerLine the first time and assign an LL Administrator. After that, LL Administrators manage access. An LL Administrator does not have to be a Jira site admin.
QuickBooks Online or Xero, if you use them and want a saved invoice created in those books. Connecting them is optional and is its own step.
People already log time in Jira on the projects you intend to bill or measure.
You know who owns wages (often HR or finance) and who owns clients (the LL Managers). you will need to assign them the permissions to enter personnel and client rates.
Quick start
Do these in order. Each item has its own page.
Assign at least one LL Administrator.
Designate the people who may approve budgets and expenses.
Designate the Hourly Company Rates owners who maintain personnel wages.
Assign at least one LL Manager.
Create the LedgerLine ops space.
Add a client and link the Jira projects that deliver that client's work.
Set labor categories and bill rates on each client.
Finish each linked project: mode, billable, tax, kind, letterhead, and team.
Confirm the company display currency and whether budgets burn on bill or cost.
Optional, after the list above:
Connect QuickBooks or Xero, if a manager should send a saved invoice into those books. The daily jobs do not send it for you.
Tax regions, if invoices should add tax.
A letterhead, if PDFs should show your company.
Assign or create accounting's Jira space, before you use Send to Account Invoicing.
A first invoice.
Next steps
Start with Assign an LL Administrator. When step 9 is done, follow Build and send an invoice once, end to end.
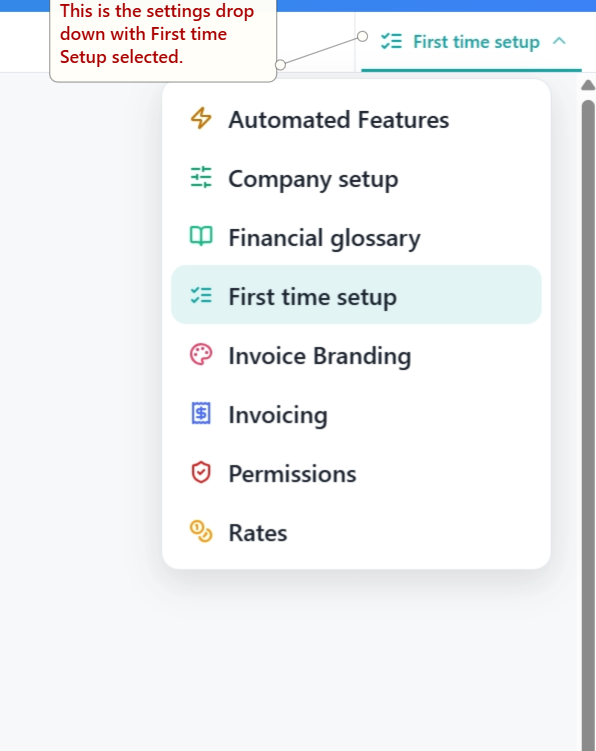
Screenshot needed: Settings, First time setup, with the required steps listed and the first unfinished step highlighted.